
The freedom to travel anywhere, anytime, without sacrificing comfort has made campervan living explode in popularity. Whether you’re a weekend warrior or planning full-time vanlife, building your own campervan saves money, allows customization, and offers unbeatable satisfaction. This DIY Campervan Build Guide: From Empty Shell to Adventure delivers everything you need to know—from planning and layout to electrical setups and finishing touches.
Why Choose a DIY Campervan Build?
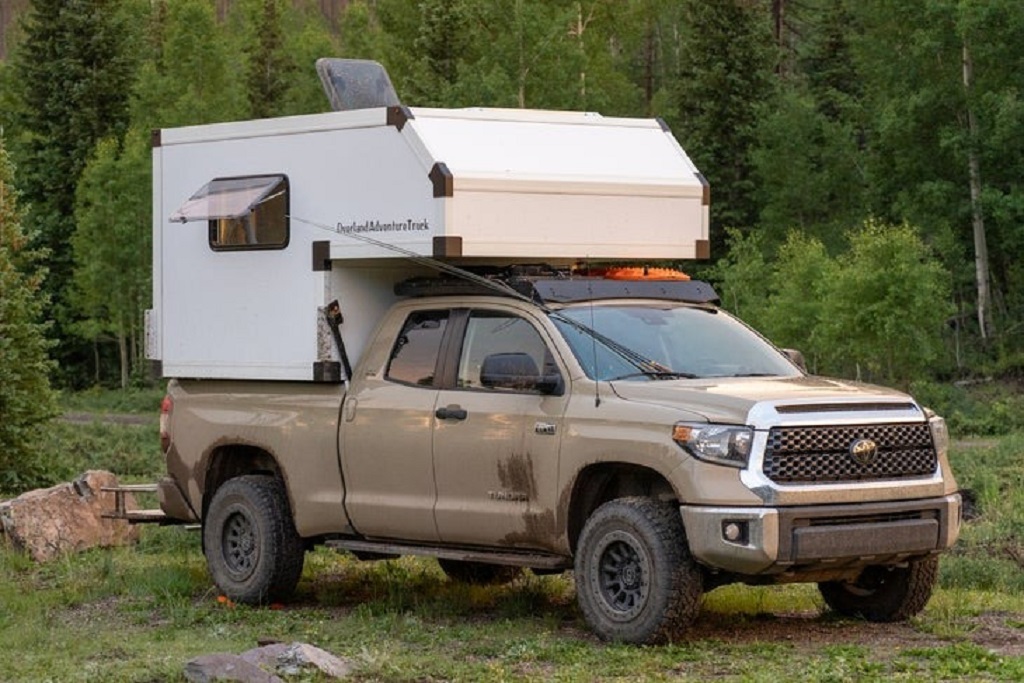
Purchasing a pre-converted campervan can cost anywhere between $50,000 and $120,000. In contrast, DIY builds often fall between $10,000 and $30,000, depending on the van model and components. Beyond saving money, building your own campervan means you get exactly what you want—no compromises on layout, storage, or features.
A 2023 survey by Statista revealed that 72% of campervan enthusiasts preferred DIY conversions for the flexibility they offer. It’s not just about budget—it’s about designing a lifestyle.
Step 1: Choosing the Right Van
Everything begins with your van. Popular models include:
- Mercedes Sprinter: High roof and diesel efficiency.
- Ford Transit: Spacious, reliable, easy-to-service.
- Ram ProMaster: Front-wheel drive and boxy shape make it conversion-friendly.
Consider your travel goals. A high-roof van is ideal for standing room but may limit off-road capability. A compact model offers better gas mileage but sacrifices space. Look at maintenance costs, mileage, and parts availability. Remember: this is your foundation. Don’t skimp here.
Step 2: Planning Your Layout
Sketch your dream layout before lifting a single tool. Think about:
- Bed Configuration: Fixed bed, pull-out, or convertible?
- Kitchen Location: Near the door for ventilation or centralized?
- Storage Needs: Overhead cabinets, under-bed storage, or both?
Apps like Vanspace 3D allow you to digitally experiment with different floorplans. The key is balancing functionality with comfort. If you plan on working remotely, add a desk area. For off-grid adventures, prioritize solar panel space and battery storage.
Step 3: Insulation and Soundproofing
Insulation makes your van livable in hot and cold climates. Options include:
- Sheep’s Wool: Eco-friendly and moisture-resistant.
- Spray Foam: High R-value, but trickier to install.
- Rigid Foam Board: Affordable and effective.
Soundproofing adds comfort by reducing road noise. Use butyl rubber mats or mass-loaded vinyl on wheel wells and walls. This step sets the tone for a peaceful, temperature-controlled space.
According to Explorist.life, proper insulation can reduce interior temperatures by up to 15°F during peak summer heat.
Step 4: Electrical System
Your campervan’s electrical system powers everything—lights, fridge, fans, and more. Key components include:
- Solar Panels: 200-400 watts is standard for off-grid setups.
- Battery Bank: Lithium batteries last longer but cost more.
- Inverter: Converts DC battery power into AC for regular appliances.
Use a fuse box and appropriate gauges of wiring for safety. Online tools like Renogy’s solar calculator can help you size your system based on daily energy usage.
If you’re intimidated, hire a certified electrician for consultation. Mistakes here can be dangerous. As the saying goes, “There’s no DIY glory in a van fire.”
Step 5: Plumbing and Water System
Your plumbing setup depends on your needs. Basic setups include:
- Water Storage Tanks: 10-40 gallons for fresh water.
- Grey Water Tank: Collects sink and shower runoff.
- Pump & Faucet: Use a 12V water pump for pressure.
If you want a shower or hot water, consider a propane or electric water heater. Composting toilets, like Nature’s Head, are popular choices that avoid the need for black water systems.
Waterproof your kitchen and shower areas. Leaks are the silent killer of campervan interiors. Prioritize marine-grade plumbing supplies and test for leaks before final sealing.
Step 6: Building the Interior
Now comes the fun part—bringing your vision to life. Use marine plywood for cabinetry. It’s durable and resists moisture. For the walls and ceiling, cedar planks add warmth and insulation.
Modular systems offer flexibility. IKEA hacks are common, but many builders also favor custom cabinetry for better space utilization.
Install LED lights, fans like MaxxAir, and USB ports throughout the van. Make sure everything is functional before sealing up your walls.
Step 7: Final Touches and Decor
This is where your van truly becomes yours. Add curtains, blackout window covers, and privacy screens. A comfy mattress, plants, and textured fabrics make a huge difference.
Mount magnetic spice racks, hooks, and fold-down tables. These small additions enhance daily life. Use anti-slip mats and locking drawers to keep things in place on the road.
A survey by The VanLife App showed that 60% of vanlifers valued “homey aesthetics” as much as functionality. Your van should feel like a sanctuary—not just a vehicle.
Real Examples to Inspire You
YouTube creators like Kombi Life and Eamon & Bec have documented their entire van builds. Their experiences reveal the real struggles—from freezing nights to battery mishaps—but also the triumphs of total freedom.
Reddit’s r/VanDwellers is a goldmine of real-world advice, and platforms like Vanlife Customs showcase professionally-built inspirations that you can adapt to your DIY project.
7 Frequently Asked Questions
How much does a DIY campervan build cost?
Anywhere from $8,000 to $30,000, depending on materials and van choice.
Do I need a special license to drive a campervan?
Not usually. In most places, a standard driver’s license is sufficient if the van is under 10,000 lbs.
Can I live in a van full-time legally?
Yes, but local laws vary. Some cities restrict overnight parking. National forests and BLM land are popular for boondocking.
How long does it take to build a campervan?
Anywhere from 2 weeks (full-time effort) to 6 months, depending on complexity and time availability.
Is it safe to wire a campervan myself?
It’s doable with research and safety checks. However, hiring an electrician for the final inspection is wise.
What size solar system do I need?
A 300W solar setup with 200Ah of lithium batteries suffices for most basic needs, including lighting, fridge, and devices.
Can I use regular house furniture in a van?
Not recommended. House furniture is heavy and not built for mobile use. Custom or modular van furniture is better.
Read More Also: 10 Scenic Campsites in the U.S. Perfect for Campervans
Final Thought
Building a campervan is more than a project—it’s a lifestyle shift. It demands patience, planning, and perseverance. But once complete, the reward is unparalleled freedom. From remote mountain trails to oceanfront sunrises, your custom-built campervan becomes a ticket to experiences that no hotel or resort can offer.
If you’re dreaming of life on the road, this DIY Campervan Build Guide: From Empty Shell to Adventure will help you turn that dream into a reliable, adventure-ready reality. Don’t wait. Start sketching, start sourcing, and start building—your perfect escape pod is just a few screws and solar panels away.
References: