
Yes, you can build a practical camp cold plunge using a sturdy tub, insulated cover, ice, and safe drainage. The simplest setup uses a portable container that holds roughly 80 to 120 gallons. Since one gallon of water weighs 8.34 pounds, a full 100-gallon plunge weighs about 834 pounds.
A good camp plunge should stay stable, drain easily, protect the ground, and require minimal equipment. More importantly, your design should match your vehicle, campsite, climate, and available power.
Start With the Right Camp Plunge Design
Begin with the container because its shape determines almost every other construction decision. Choose a rigid stock tank, insulated plunge tub, or heavy-duty portable soaking barrel.
For vehicle-based trips, prioritize a tub that folds, nests, or stores efficiently when empty. A compact design also makes campsite setup considerably easier after a long driving day.
Choose a capacity based on your body size and available payload rather than maximum water volume. A smaller 70-gallon tub can work well while reducing transport weight and ice requirements.
Before buying anything, measure your storage compartment, roof access, doors, and available campsite space. Then measure the assembled tub footprint and compare those dimensions carefully.
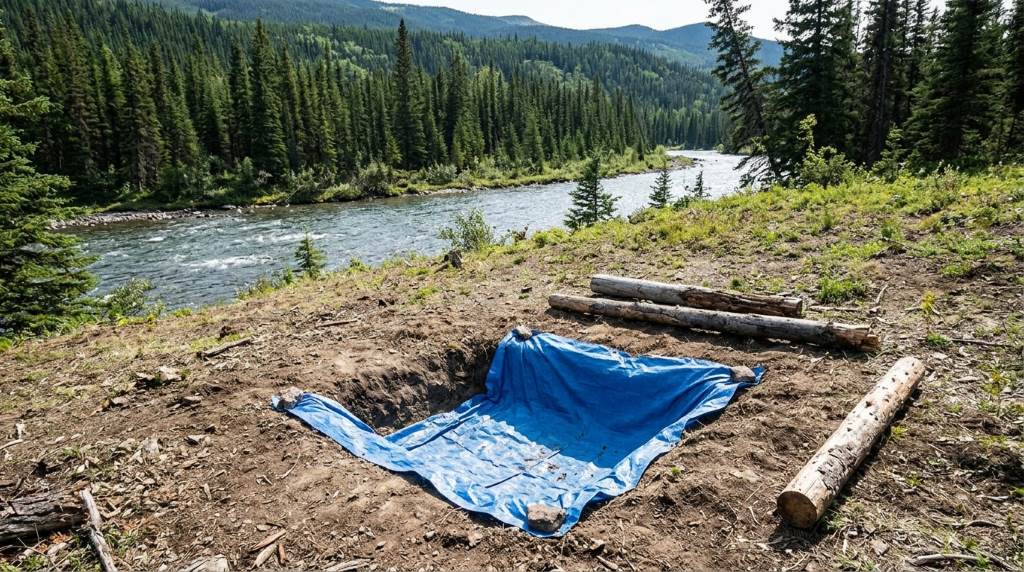
Choose Your Tub Material
Rigid plastic offers excellent durability and usually handles repeated outdoor use without complicated maintenance. However, bulky tanks consume valuable cargo space during transportation.
Inflatable tubs save storage space, although they require more care around sharp rocks and rough campsite surfaces. Therefore, always place a protective ground layer underneath inflatable models.
Insulated plunge tubs provide another advantage because they slow heat transfer during warm weather. They also reduce the amount of ice needed to maintain a lower water temperature.
- Rigid stock tank: Best for durability and simple installation.
- Inflatable tub: Best for compact storage and occasional trips.
- Insulated plunge tub: Best for repeated cold-plunge sessions.
- Collapsible barrel: Best when cargo space remains extremely limited.
Whichever option you select, inspect seams, drain fittings, handles, and walls before every trip. A small leak becomes a major campsite problem when hundreds of pounds of water move suddenly.
Plan the Power and Climate Setup
Your plunge does not need electricity if you use ice and fresh water manually. Nevertheless, powered circulation or cooling can improve consistency during longer outdoor stays.
First, estimate your electrical requirements before adding pumps, chillers, or filtration equipment. Your available system may already support other appliances, including rooftop camper van AC equipment.
For basic trips, avoid unnecessary electrical complexity and build around passive insulation. Add a small circulation pump only when water movement provides a meaningful benefit.
Keep electrical connections away from the tub and protect every connection from splashing water. Use outdoor-rated equipment and follow the manufacturer’s electrical safety requirements.
Decide Between Ice and Active Cooling
Ice provides the easiest cooling method because it requires no dedicated refrigeration equipment. However, frequent sessions can consume substantial ice and create repeated supply runs.
An active chiller costs more and increases electrical demand, but it offers greater temperature consistency. Consequently, frequent travelers may find the additional equipment worthwhile.
For occasional weekend trips, start with ice before investing in powered cooling. That approach lets you evaluate your routine without adding unnecessary weight or complexity.
| Cooling Method | Best Use | Main Advantage | Main Limitation |
|---|---|---|---|
| Bagged ice | Short trips | Simple and portable | Requires regular replacement |
| Frozen bottles | Repeated trips | Reusable cooling | Requires freezer space |
| Electric chiller | Extended stays | Consistent cooling | Uses power and adds weight |
| Passive insulation | Warm-weather sessions | Low complexity | Cannot actively reduce temperature |
Build a Stable and Comfortable Plunge Station
Once you choose the tub and cooling method, prepare the surrounding station. A stable base prevents shifting, uneven loading, and accidental spills.
Select level ground whenever campsite rules permit your chosen location. Remove sharp stones, sticks, and debris that could damage the tub underneath.
Place a ground mat beneath the plunge to distribute pressure and protect the base. Then position an absorbent or drainage-friendly surface beside the entry point.
Your seating area also deserves attention because wet feet can make ordinary campsite furniture slippery. Consider these campervan camping chairs when planning a comfortable changing area.
Create a Practical Entry Area
Keep a towel, dry clothing, sandals, and drinking water within easy reach. This arrangement reduces unnecessary walking across wet campsite surfaces.
Use a non-slip mat beside the tub, especially on smooth ground or damp grass. Avoid placing loose rugs where water can accumulate beneath them.
If your tub has a high wall, add a stable step designed for outdoor wet conditions. Never improvise with unstable boxes, coolers, or loose rocks.
Protect the Ground and Campsite
Before filling the tub, understand local campsite drainage rules and restrictions. Some campgrounds prohibit dumping large quantities of water near vegetation, trails, or neighboring sites.
Use the tub’s drain fitting when available, then direct water toward an approved drainage location. Otherwise, remove water gradually with a suitable hose or transfer pump.
Never discharge treated water directly into streams, lakes, or sensitive natural areas. Responsible drainage protects waterways and prevents conflicts with campground staff.
Add Water Management and Sanitation
Cold water can look clean while still accumulating sweat, oils, dirt, and microorganisms. Therefore, establish a simple sanitation routine before your first outdoor session.
Start each trip with clean water and keep the plunge covered whenever you are not using it. A tight cover limits debris, insects, sunlight, and accidental contamination.
If several people use the same water, filtration becomes increasingly valuable. Follow the equipment manufacturer’s instructions for compatible filters, sanitizers, and replacement schedules.
Keep the Water Cleaner
- Shower or rinse before entering the plunge.
- Keep food and drinks away from the water.
- Cover the tub between sessions.
- Remove visible debris immediately.
- Replace questionable water instead of trying to rescue it.
A portable filter can extend water usefulness when designed for your specific plunge system. However, filtration does not automatically eliminate every sanitation concern.
For multi-day trips, prioritize water quality over conserving a few gallons. Fresh water usually provides the simplest solution when sanitation becomes uncertain.
Prepare the Water Temperature
Many cold-plunge users prefer water around 50 to 59 degrees Fahrenheit. However, beginners should avoid chasing extremely low temperatures during their first outdoor sessions.
Measure water temperature with a reliable waterproof thermometer before entering. Do not judge temperature accurately using your hands or general weather conditions.
Add ice gradually instead of dumping a large amount into the tub immediately. Stir the water thoroughly, measure again, and adjust until you reach your planned range.
Remember that direct sunlight, warm air, and repeated use can raise water temperature quickly. An insulated cover helps slow those changes between sessions.
Make the Plunge Compatible With Off-Grid Camping
Off-grid trips require careful planning because water, electricity, and cargo capacity remain limited. Fortunately, a manual plunge can operate with surprisingly little equipment.
If you rely on powered circulation or cooling, calculate your energy budget before leaving home. Your electrical system may already support lighting, refrigeration, ventilation, and communication devices.
For campers using renewable energy, properly sized solar panels campervan systems can support selected auxiliary loads.
However, solar generation varies with weather, season, shade, panel orientation, and daily usage. Therefore, never assume your panels can continuously operate a high-demand plunge chiller.
Reduce Your Energy Demand
- Use an insulated plunge cover whenever possible.
- Pre-chill water before starting powered equipment.
- Run circulation pumps only when necessary.
- Keep the tub shaded during daylight hours.
- Choose efficient equipment with clearly stated power requirements.
Shade matters because direct sunlight can increase heat gain even when outdoor temperatures feel comfortable. A canopy can therefore complement insulation without consuming electrical power.
Place the plunge away from hot vehicle surfaces, engine compartments, and other heat sources. Then orient your setup for convenient drainage and safe movement.
Pack a Dedicated Camp Cold Plunge Kit
A dedicated kit prevents forgotten components from turning setup into a frustrating campsite improvisation. Store smaller parts together inside one labeled waterproof container.
Your core kit should include the tub, cover, thermometer, ground mat, drain hose, and cleaning supplies. Add cooling equipment according to your chosen method.
- Portable plunge tub and insulated cover.
- Waterproof digital thermometer.
- Ground protection mat.
- Drain hose or transfer pump.
- Water treatment supplies when appropriate.
- Non-slip entry mat.
- Dry towels and spare clothing.
- Ice bags or reusable frozen bottles.
- Waterproof storage container.
- Basic repair materials for field emergencies.
Test every component at home before your first trip. A ten-minute driveway test can expose leaks, poor drainage, weak fittings, or missing adapters.
Optimize Storage Inside Your Vehicle
Store the heaviest components low and close to the vehicle’s center. This approach helps maintain predictable handling when carrying substantial water equipment.
Never transport a filled plunge unless the vehicle manufacturer explicitly supports that load. Water weight changes rapidly and can exceed practical payload limits.
Instead, fill the tub after reaching the campsite and drain it before departure. This strategy dramatically reduces transport weight and simplifies vehicle loading.
Use a Safer Cold-Plunge Routine Outdoors
Cold exposure deserves more attention outdoors because weather, fatigue, altitude, and isolation can change the experience. Start conservatively and treat discomfort as useful feedback.
Enter slowly and keep your head above water. Avoid turning the plunge into a test of endurance or willpower.
Beginners should use short sessions and gradually determine their personal tolerance. A nearby companion provides an additional layer of practical safety during remote trips.
Stop immediately if you experience severe shivering, confusion, dizziness, unusual weakness, or difficulty controlling movement. Warm yourself gradually and seek appropriate medical assistance when symptoms concern you.
Build a Simple Session Protocol
- Check the water temperature.
- Confirm the tub remains stable.
- Keep towels and warm clothing nearby.
- Enter slowly without diving.
- Keep your face and head above water.
- Exit before discomfort becomes severe.
- Dry off and warm up gradually.
Do not use the plunge after consuming alcohol or anything else that impairs judgment. Avoid using it alone when conditions create meaningful risks.
People with cardiovascular conditions or other medical concerns should discuss cold-water exposure with a qualified healthcare professional. Outdoor environments add variables that can make individual responses harder to predict.
Maintain the Camp Plunge Between Trips
Maintenance starts immediately after each session because moisture and residue can accelerate material deterioration. Drain completely, rinse the interior, and dry accessible surfaces.
Inspect seams, valves, hoses, pump connections, and covers before storing everything. Replace damaged components before the next trip rather than carrying questionable equipment into remote locations.
Allow the tub to dry thoroughly before folding or packing it. Trapped moisture can create unpleasant odors and encourage biological growth inside dark storage areas.
Use a Quick Post-Trip Checklist
- Drain all water completely.
- Rinse the tub and accessories.
- Clean components according to manufacturer instructions.
- Dry the tub before storage.
- Inspect valves and hoses.
- Recharge compatible batteries and power stations.
- Replace disposable filters or treatment supplies.
- Restock ice-related equipment before the next trip.
Keep a small maintenance log if you use the plunge frequently. Record leaks, water issues, cooling performance, and replacement parts after each trip.
Common Camp Cold Plunge Mistakes to Avoid
The biggest mistake involves choosing a large tub without considering filled weight. More water means greater ice demand, harder drainage, and greater campsite management requirements.
Another common error involves placing the plunge on uneven or unprotected ground. Even a durable container can suffer damage when sharp debris concentrates pressure against its base.
Some campers also overcomplicate the first build with pumps, chillers, filters, sensors, and electrical controls. Start with a simple system, then upgrade only after identifying a genuine limitation.
Watch for These Warning Signs
- The tub shifts when entering or exiting.
- Water drains toward your vehicle or tent.
- Electrical equipment sits within splash range.
- The water develops an unusual odor or appearance.
- The cover cannot secure against wind.
- Your vehicle cannot safely carry the empty equipment.
- Your cooling system exceeds available electrical capacity.
Fix structural and drainage problems before adding comfort features. A reliable basic plunge provides more value than an impressive but fragile campsite setup.
Final Build Blueprint
The best camp cold plunge balances portability, stability, water quality, cooling performance, and simple maintenance. You do not need a permanent spa system to create a useful outdoor recovery station.
Choose a manageable tub, protect its base, plan drainage, and select ice or powered cooling. Then add insulation, water management, and off-grid power only when your trips justify them.
Most importantly, test the complete setup before taking it into remote terrain. That single step can reveal problems while replacement parts and household tools remain close.
Ready to build yours? Start with the tub and campsite layout, then assemble a simple plunge kit before adding advanced cooling equipment.
Frequently Asked Questions
Can I Build a Cold Plunge Without Electricity?
Yes, use an insulated tub, fresh water, ice, and a waterproof thermometer for a simple electricity-free setup.
How Large Should a Camp Cold Plunge Be?
Choose the smallest tub that comfortably fits your body while keeping transport, filling, and drainage manageable.
How Do I Keep Outdoor Plunge Water Clean?
Use clean water, rinse before entry, cover the tub, remove debris, and follow suitable sanitation practices.
Can Solar Power Run a Cold Plunge Chiller?
Yes, but your solar, battery, inverter, and chiller must provide sufficient capacity for the required electrical load.
How Should I Drain a Camp Cold Plunge?
Drain gradually through an appropriate hose toward an approved location while following campground and local environmental rules.